Why Your Inflatable SUP Loses Air Overnight
Inflatable SUPs have gotten complicated with all the conflicting advice flying around. You pumped your board to 15 PSI the night before. Morning comes, you’re ready for an early session, and the thing is mushy. I’ve been there — more than once, if I’m being straight with you. That soft board slumped against your garage wall feels like a manufacturing defect. It usually isn’t.
Most articles on this either say “check the valve” and vanish, or they’re quietly funneling you toward a repair kit purchase. Neither one actually fixes your morning. As someone who’s paddled for years and destroyed two boards through sheer stubbornness, I learned everything there is to know about overnight pressure loss. Today, I will share it all with you.
Temperature Drop Is the Most Common Culprit
Before you touch anything, understand one thing. Air contracts when it cools down. That’s not a leak. That’s high school chemistry.
The rough rule: 1 PSI for every 10°F drop. Live somewhere with a 20-degree overnight swing — totally normal in October or March — and you’re waking up to a board that’s already 2 PSI softer. Nothing is broken. But what is a “temperature leak,” exactly? In essence, it’s your board responding to basic physics. But it’s much more than that, because it mimics a real leak so convincingly that people panic and start pulling their boards apart.
Frustrated by a mysteriously “leaking” board one fall evening, I spent a solid hour running soapy water over every seam using an old dish soap bottle I’d cut the top off of. Found nothing. The next morning — after a 30-degree overnight drop — pressure had fallen another 2 PSI. Then it finally clicked. I felt genuinely foolish. Don’t make my mistake.
Here’s how to confirm temperature is your actual situation:
- Inflate the board to its rated PSI in the evening and write down the outside temperature — actual number, not just “cold.”
- Check the PSI again first thing in the morning before the sun has had any time to warm things up.
- Track pressure through the day as air temperature climbs.
- If PSI creeps back toward your original number as it warms up, temperature was the whole story.
If pressure stays low and refuses to climb, you’ve got a real leak. Keep reading. But honestly, this single check eliminates the panic for most paddlers before they ever need to do anything else.
How to Check the Valve First
Probably should have opened with this section, honestly.
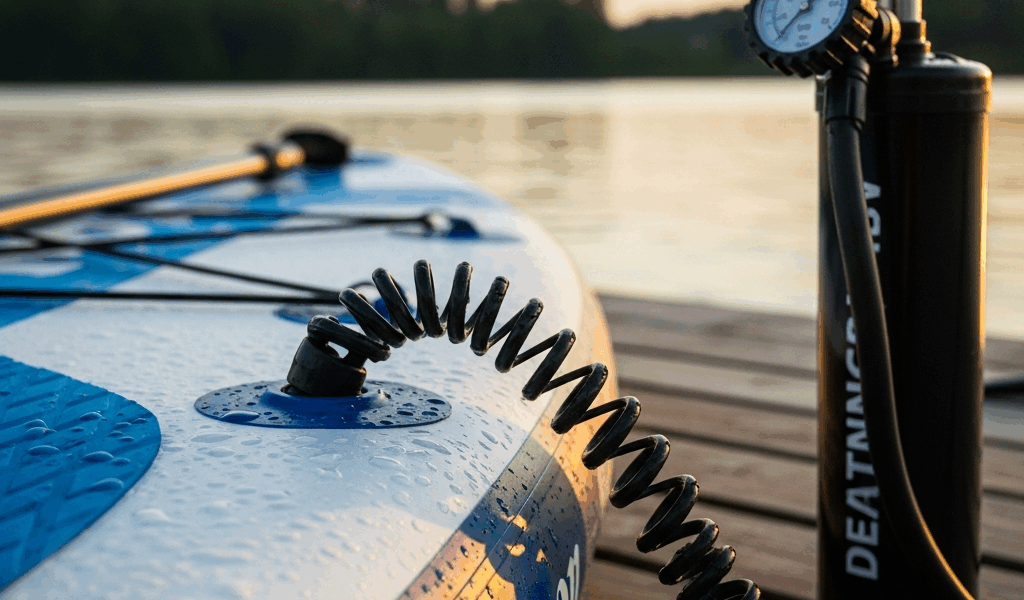
Almost every inflatable SUP — Aqua Marina, Thurso, Tahe, Red Paddle Co., you name it — ships with a Halkey-Roberts valve. It’s the industry standard. And it has one small design quirk that has ruined countless mornings for people who absolutely should have known better.
The center pin. It has two positions: sealed and open. When it’s open — pulled outward, sitting loose — air bleeds out slowly and silently over hours. You’d never hear it. You pack up after a session, you twist the valve cap, you don’t look at that tiny pin. I’m apparently someone who ignored that detail for two full seasons, and my old Aqua Marina Fusion 10’10” deflated on me four separate times before I figured it out.
Push that pin inward. Reinflate. That might genuinely be everything.
If the pin is seated correctly, look at the seal itself. The Halkey-Roberts valve uses a rubber seal ring that creates an airtight closure under pressure. That seal degrades — UV exposure, age, over-tightening — and when it does, air escapes slowly enough that you won’t notice it poolside but will absolutely notice it after 12 hours in a garage.
Test it with the soapy water method:
- Inflate to full rated pressure — whatever the valve stem or manual specifies.
- Mix a spray bottle at roughly 3-to-1 water to dish soap. Generic blue dish soap works fine.
- Spray directly on the valve stem and the rubber base where it meets the board material.
- Watch for bubbles. Slow, steady bubbling means a compromised seal.
Replacement Halkey-Roberts valve kits run $12 to $25 on Amazon. Installation takes maybe ten minutes with a valve wrench — the plastic one that shipped with your board works, though a metal version for around $8 is more reliable. That’s what makes this fix endearing to us paddlers — cheap, quick, and actually works.
Finding a Slow Seam or Bladder Leak
Valve is fine. Temperature ruled out. Now you’re looking at seams or the internal bladder — less common, especially on boards under two years old, but UV exposure and chronic over-inflation chew through materials faster than most people expect.
So, without further ado, let’s dive in to the soapy water method done properly. Inflate to full rated pressure. Not above it. Work section by section, slowly:
- Spray all seams where the deck pad meets the main board material.
- Hit both rail seams along the sides — these flex the most and fail first.
- Check the edges of any previously glued patches, if you’ve done repair work before.
- Circle back to the valve base and housing one more time.
Fast leaks bubble aggressively. You’ll know immediately. Slow leaks — the overnight culprits — produce maybe one bubble every three to five seconds. That rate works out to roughly 0.5 PSI lost over eight hours. Subtle enough to miss in the moment. Obvious once you’re actually watching for it.
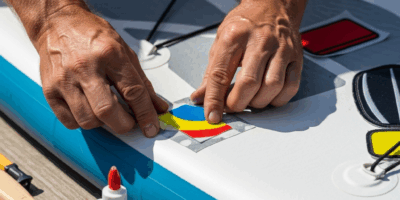
When you find it, mark it immediately with a Sharpie. A wide-tip permanent marker. Do not trust yourself to remember the location — you won’t. I’ve lost a seam leak twice by assuming I’d remember which side of the nose it was on.
Seam repairs and bladder patches are a whole separate conversation. I’ve got a detailed walkthrough on inflatable SUP repairs covering patching materials and epoxy options. For now, mark the spot and move on.
Over-Inflation and Valve Stress Damage
Some paddlers push past the rated PSI because they figure more pressure means a stiffer, faster board. It doesn’t. It just stresses the valve housing and creates micro-failures that show up as slow, maddening air loss weeks later.
Most recreational SUPs max out at 15 PSI. The Aqua Marina Vapor 10’10” — 15 PSI. The Tahe 11′ Air — 15 PSI. Running those boards at 18 or 20 PSI strains the seal, fatigues the valve pin, and pulls at the glue lines in the seams. None of that damage announces itself immediately. That’s what makes it dangerous.
A digital pressure gauge might be the best option here, as inflatable SUP maintenance requires accurate readings. That is because hand pumps with built-in gauges are notoriously inconsistent — sometimes reading 2 to 3 PSI high. A standalone digital gauge from Lezyne or Topeak runs about $30 and eliminates the guesswork entirely.
If you’ve been over-inflating, bring it back to spec now. Stop causing new damage before you address the existing kind.
When the Board Needs Professional Repair or Replacement
Some situations justify walking away. Large delaminated seams — where you can actually see the material layers separating — need professional welding equipment. Most paddlers don’t have that. Bladder failures on boards older than five years are usually a signal to replace, not repair. And if you’ve patched the same spot three times already, the board is telling you something.
But most overnight pressure loss? Temperature physics. A valve pin left in the open position. Or a $15 seal kit and ten minutes on a Sunday afternoon. None of those require a new board. Work through the list first. Panic later — if you ever actually need to.


Stay in the loop
Get the latest sup spots updates delivered to your inbox.